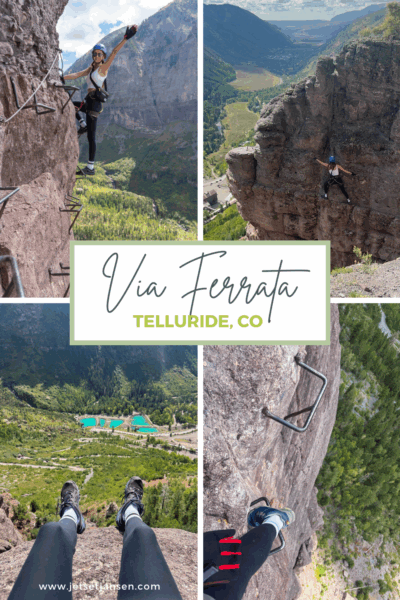
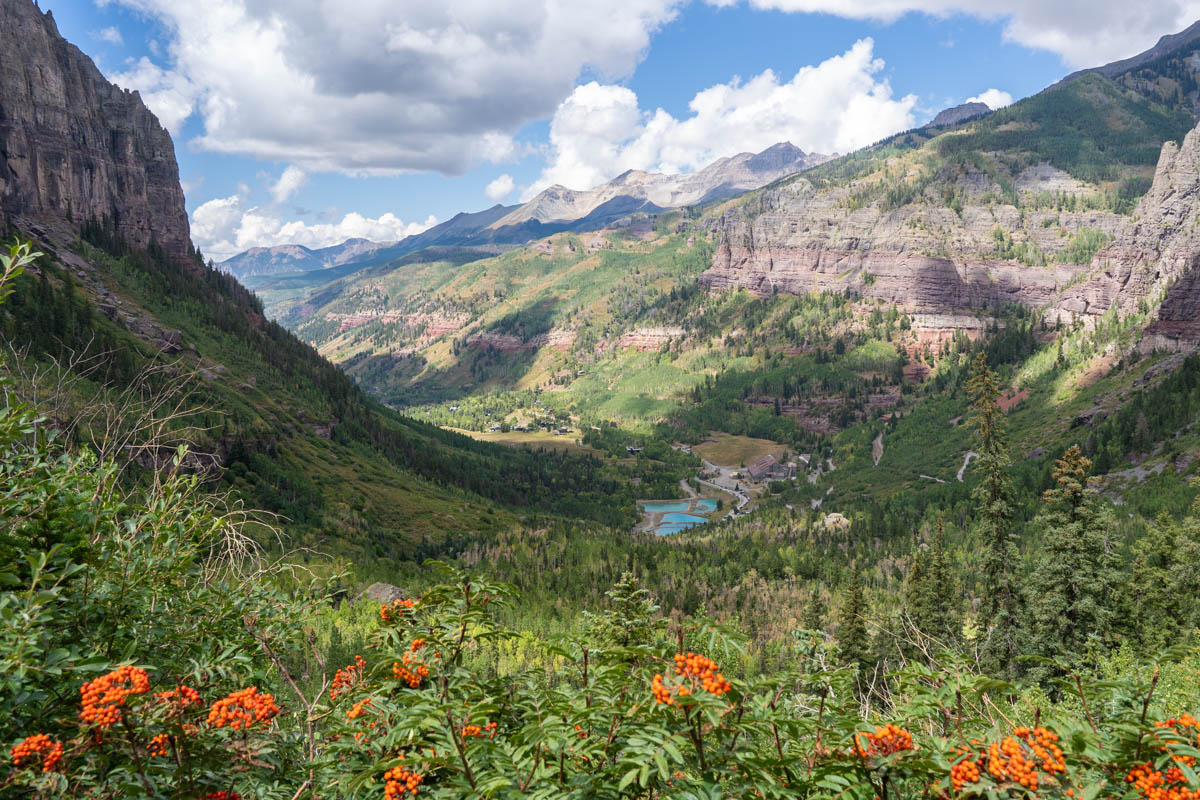
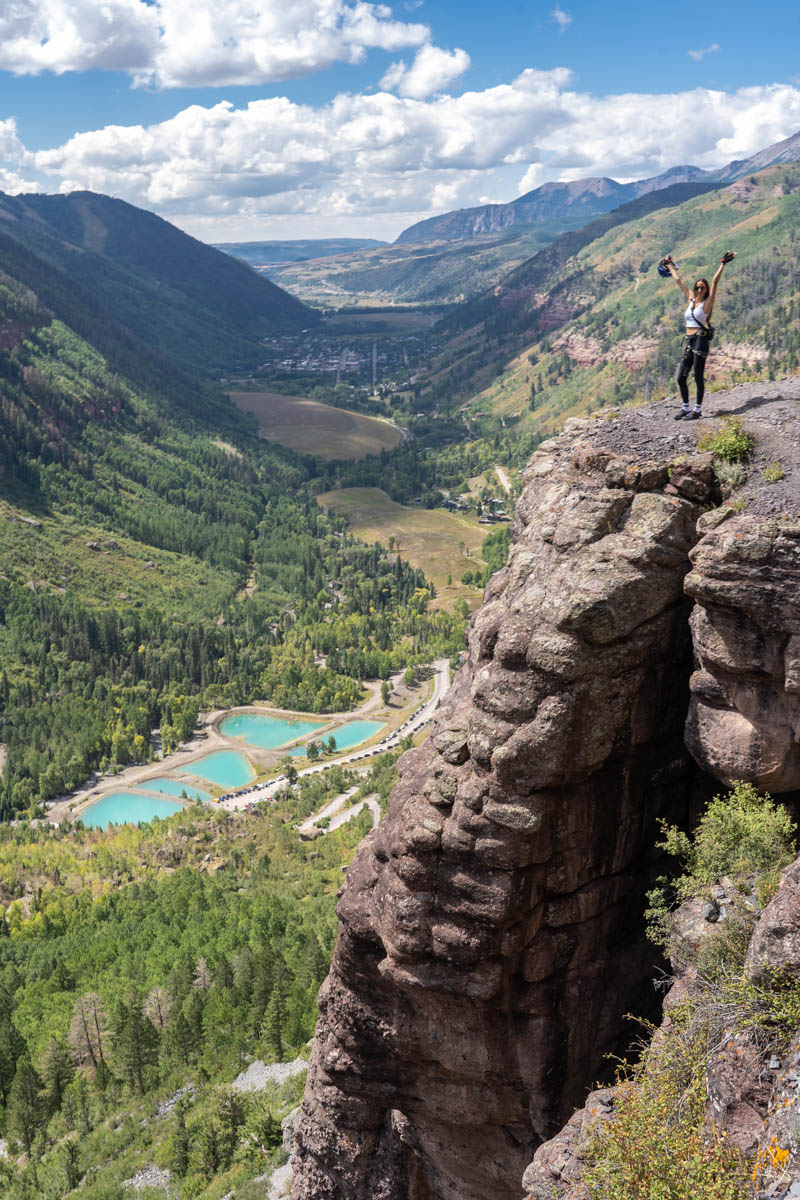
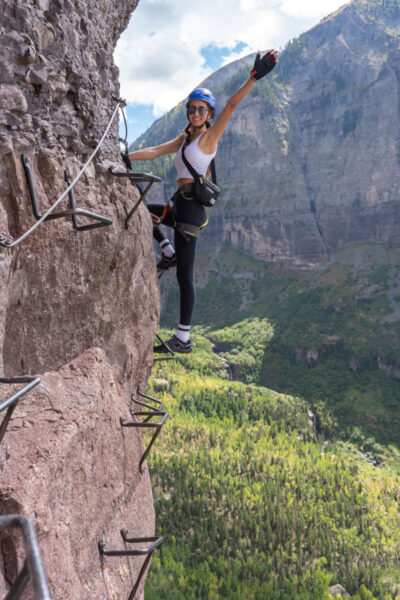
The Telluride Via Ferrata is an alpine adventure along sheer cliffs with stunning views of Colorado’s San Juan Mountains. It’s not for the feint of heart as the hike takes you along the edge of the mountain. But if you’re daring enough to do it, you’ll have a great view of Bridal Veil Falls and the city of Telluride below.
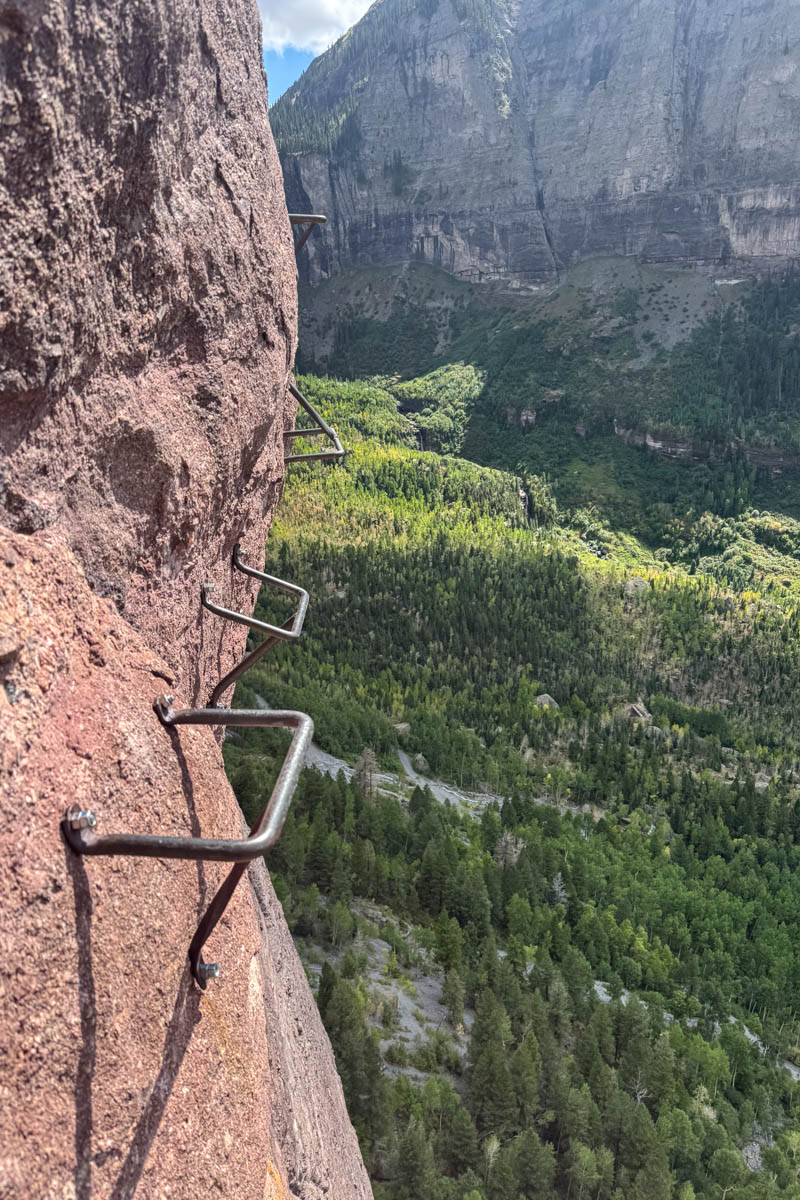
If you aren’t familiar with Via Ferrratas, they are essentially steel rungs and cables attached to the side of a cliff that you can hook up to for traversing the mountainside. You’re often suspended several hundred feet in the air with little more than your cables keeping you safe.
Via Ferrata translates into “iron path” and originated in Europe, more specifically the Italian Dolomites. These mountain side iron paths were used during the First World War as a way for soldiers to navigate the terrain and higher outposts. Locals maintained the paths post-war which eventually evolved into the recreational hiking they are today.
Some of the most popular routes are in the Alps but Via Ferratas have started popping up all over. There are quite a few in Colorado now.
The Telluride Via Ferrata
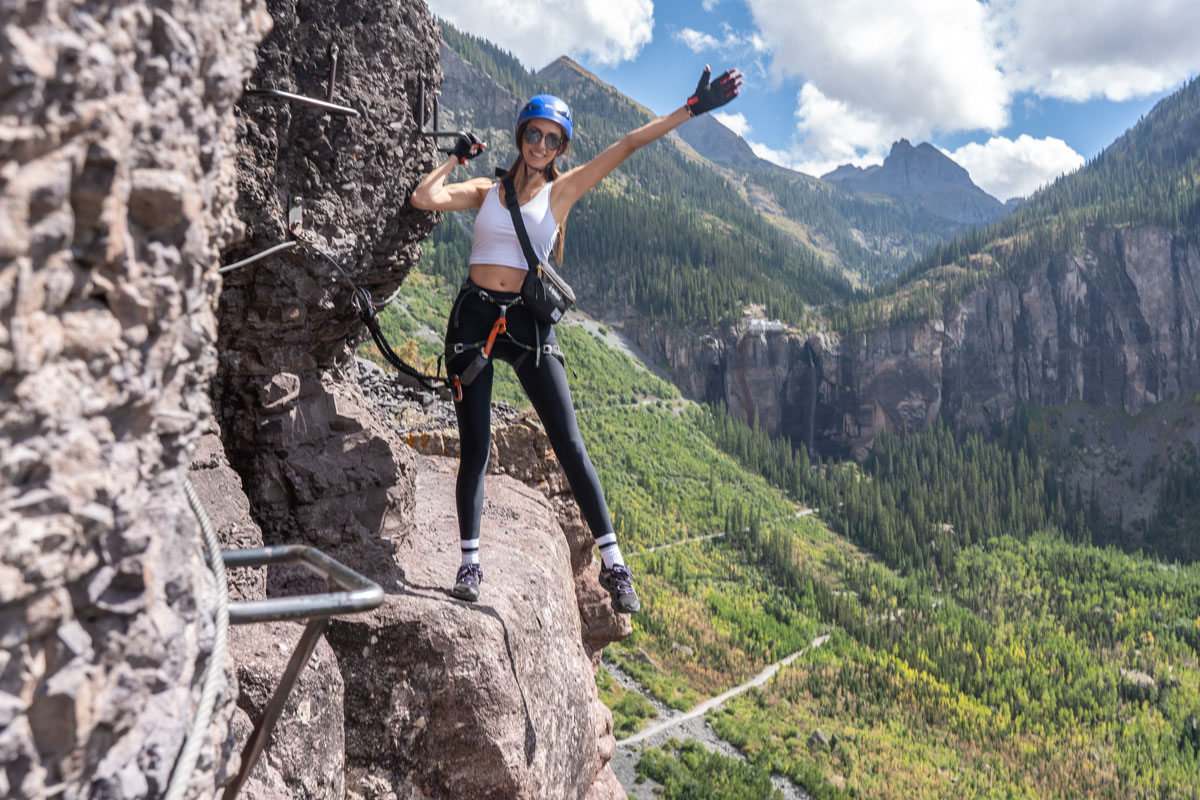
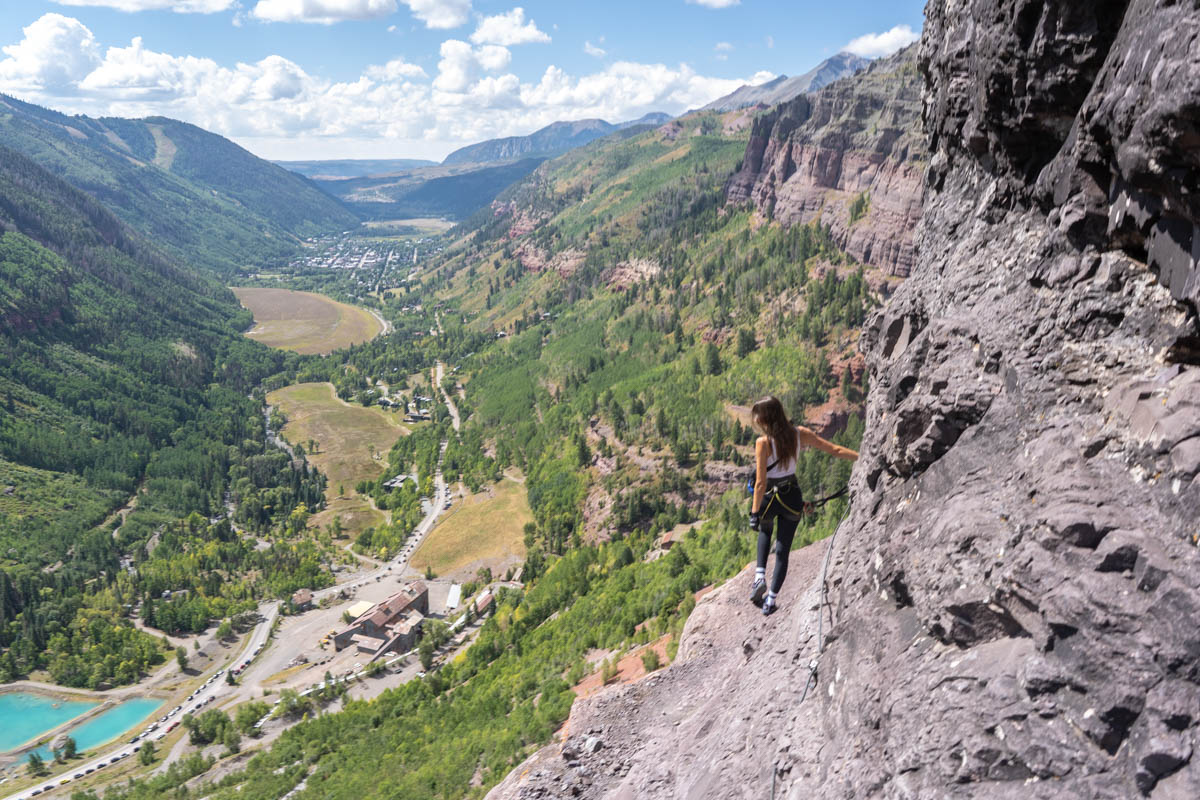
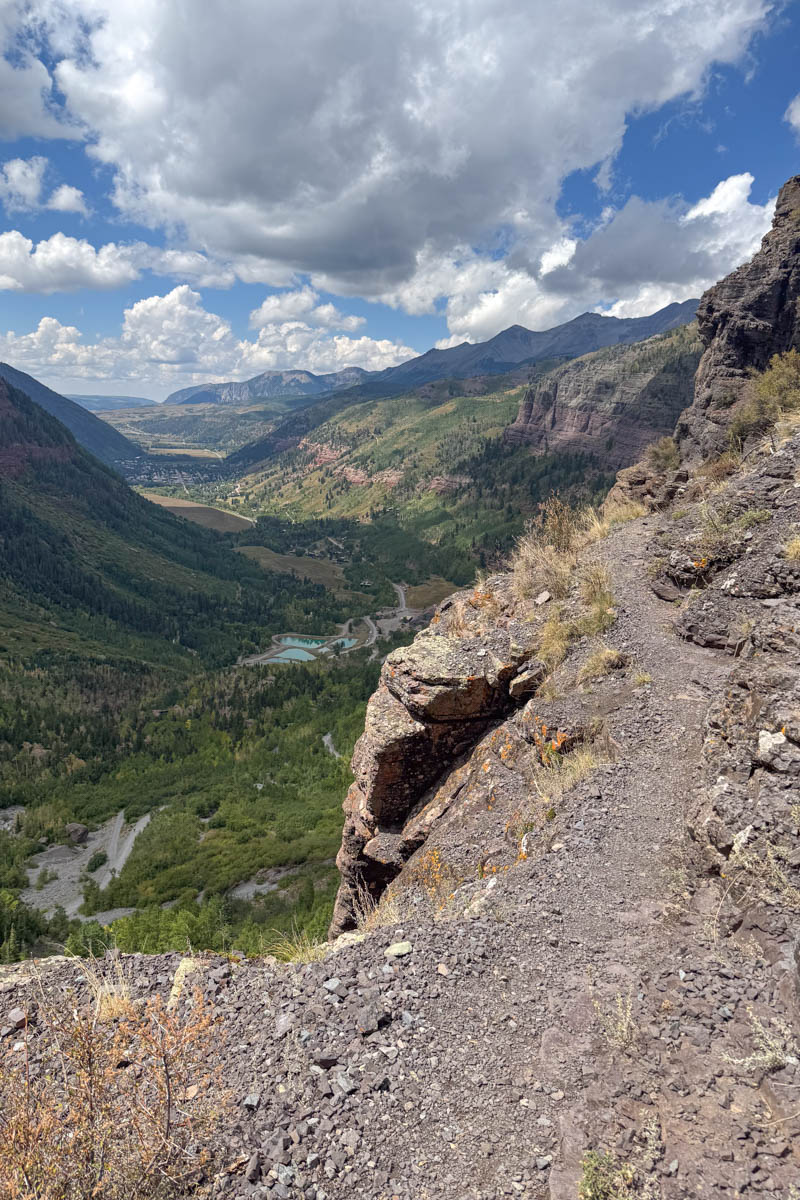
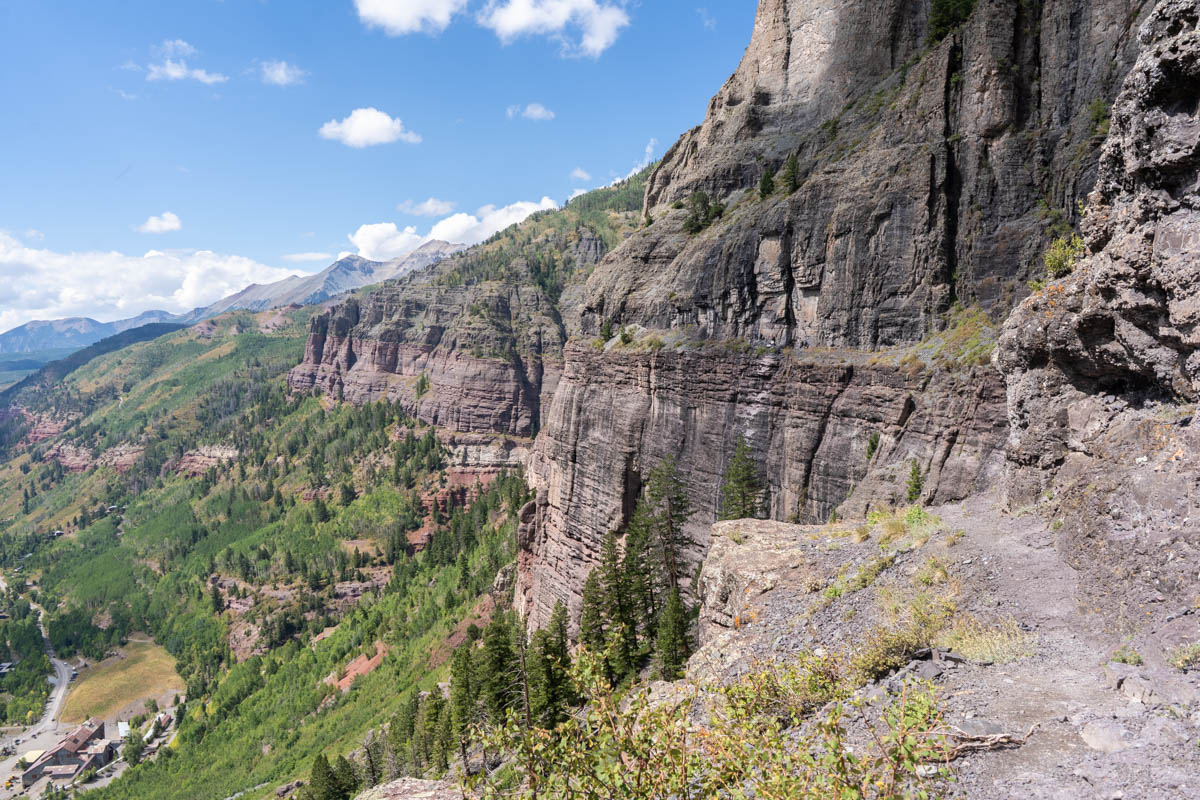
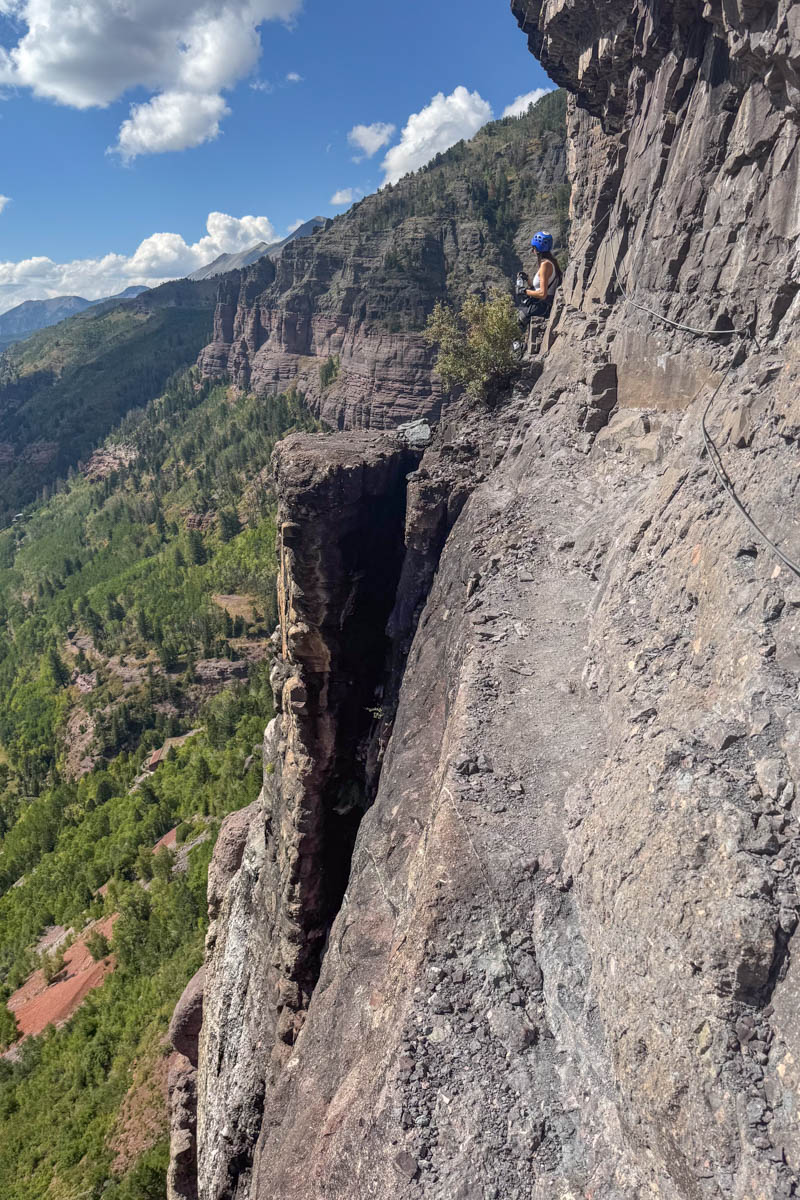
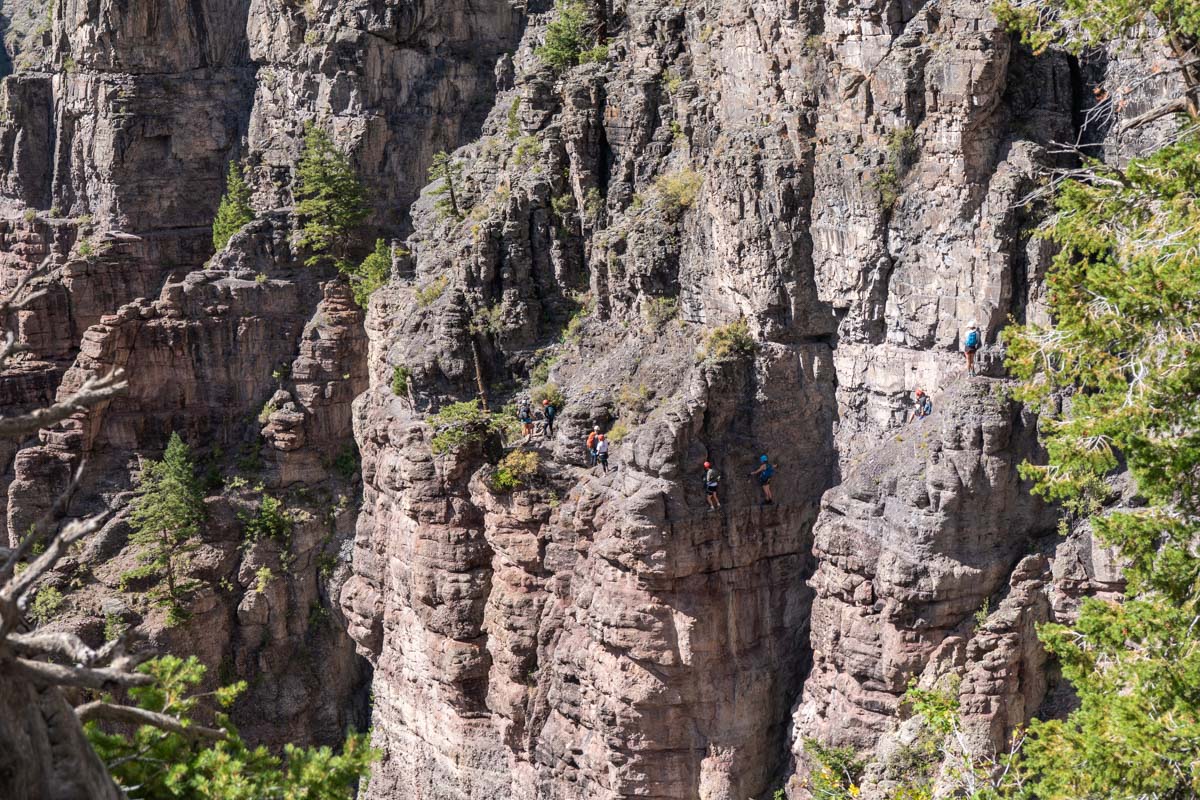
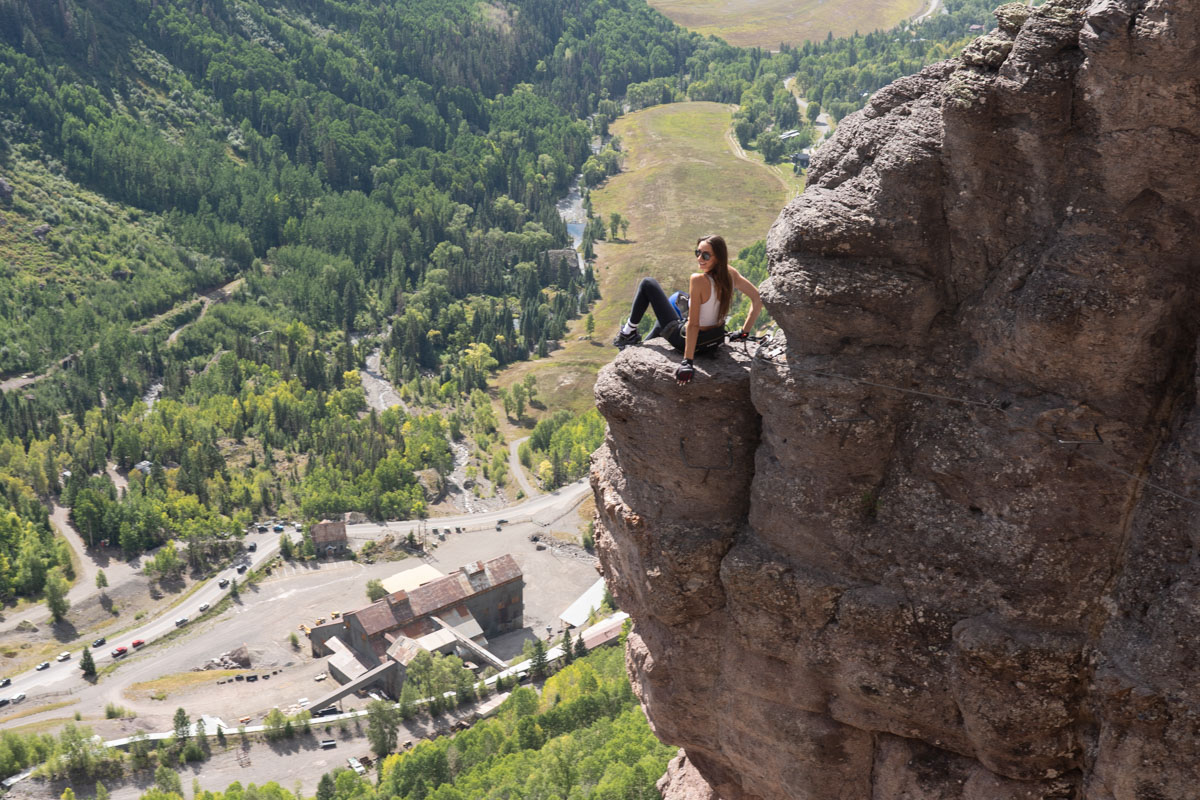
The Telluride Via Ferrata is a mostly horizontal path in the middle of a cliff overlooking the town. It’s about 600 ft up in the air and most of the route is exposed. A lot of the trail is along a skinny path cliffside, but there’s a part along the sheer rock cliff where you’ll be doing some horizontal climbing to get across.
What makes this hike really eye catching is that the tallest waterfall in Colorado, Bridal Veil Falls (365 ft), is right next it. If you happen to go at the right time, you’ll have a beautiful flowing waterfall behind you. (We ended up not catching it at the right time as there was hardly a stream of water, but the scenery is still stunning.)
Quick Stats:
- Elevation Gain: Roughly 1,000+ ft (this depends on where you’re starting from)
- Telluride Elevation: 8,754 ft
- Duration: 4-5 hours
- Length: 2-3 miles
- Route: East to west
- Difficulty: Advanced/Expert (see below)
- Equipment: harness, carabiners, helmet
Most people take the route going east to west, though we did run into a couple that were going west to east. I’m not sure if that’s an unwritten rule but it’s best to stick with the majority for a route like this.
Another thing to take note: because this hike goes horizontal across a cliff, you’ll need to make a loop at some point to get back to where you start. More on that below.
Before You Start
There’s a few things to know before you start this hike and a couple things to consider. Mainly, that this is an advanced hike. You’ll need to determine if this hike is right for you based on your strength, comfortability with heights and comfortability with climbing.
How hard is it?
Not gonna lie, we kind of psyched ourselves out for this one on the drive up to Telluride–or at least I did. My sister was convinced we would be completely fine on our own. I was reading different articles on experiences and most of them said the same thing: that this was for experts only and advanced mountain climbers.
Are we expert climbers? No. Are we even mountain climbers? Also no.
But we are adventurous and we do have audacity. I feel like this is where I should put a disclaimer.
Disclaimer: (😅) This blog post is based off my personal experience. Whether or not you decide to do this hike (with or without a guide) is entirely up to your discretion, ability and vertigo management.
While we aren’t mountain climbers, we aren’t strangers to the gear needed and we have done a similar hike before: the Plank Walk in China. And that hike gave us the confidence to do this one since the plank walk is 1,000 ft in the air, the harness was a cheap ¥30 ($5.00) and the directions were in Chinese.
However, there were very key main differences between those two hikes. One was how long the hike takes and two was the cable availability to hook into. But more on that in a second.
Mental Hike vs Physical Hike
The most important thing you’ll need to consider is that this is very much a mental hike versus a physical hike. Yes, it’s a 4-hour hike, but the majority of it is horizontal, though you will need some physical strength at certain points.
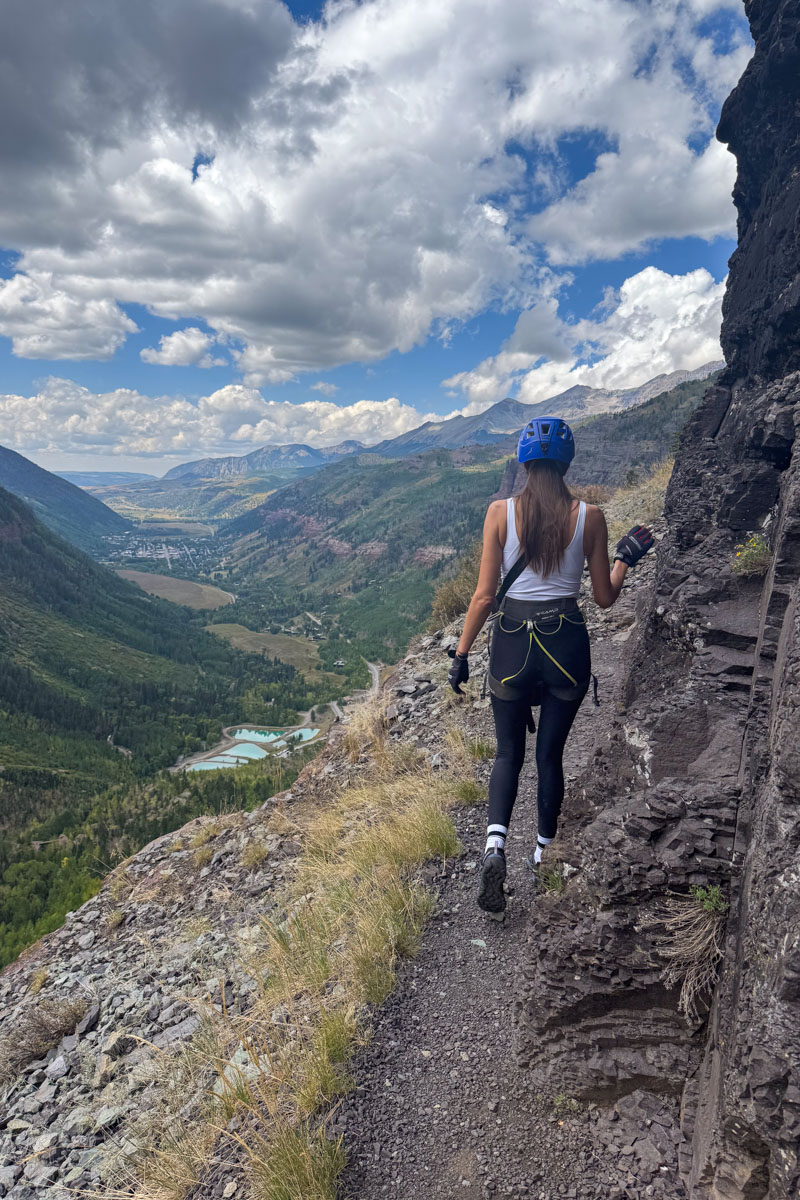
This hike is a mental hike due to the fact that it’s exposed and on the edge for the majority of the hike. Not only that, you’ll be unhooked for about 70% of the trail.
At several hundred feet up in the air, you’ll need to be comfortable walking on the edge of a cliff with nothing holding you there.
If you are not good with heights, then I would highly advise not doing this trail.
I’m pretty good with heights and even I was shaking at the beginning when I realized there was nothing to hook into it. I felt much more comfortable going across the iron rungs knowing I had a cable to attach to. My sister on the other hand was the opposite. She did much better unhooked walking along the edge, but the iron rungs got her shaking.

Another thing to keep in mind is that once you start this hike, you have to finish. There is no way off the trail once you’re on it, so you need to be committed.
Do you need a guide?
One of the biggest questions we had going into this hike was whether or not we needed a guide to do it. After researching the route, we decided not to get one. This will be different for each person though and will depend on your level of comfort hiking and climbing.
Hiring a Guide: If you want to hire a guide, make sure you do so beforehand to reserve a spot in a small group. A guide will be familiar with the route and can point out anything you may need to be aware of. They can talk you through the tough parts, potentially help with photos and will be able to help in case something were to happen.
Without a Guide: Finding the trail is pretty straightforward if you do some basic research (like reading this guide). You’ll need to come prepared with your own gear but once you start, you’ll just follow along the path. A lot of this hike is up to your own mental processing and climbing ability.
We weren’t sure what a guide would necessarily do for us. The path is straight forward so you don’t need one to show you where to go or anything. And once you’re up there, you’re kind of on your own. Other than moral support, a guide can’t really help you hike the trail. Everyone will be single file going through it.
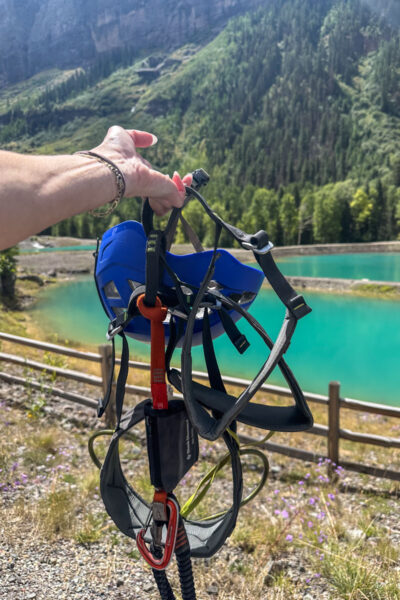
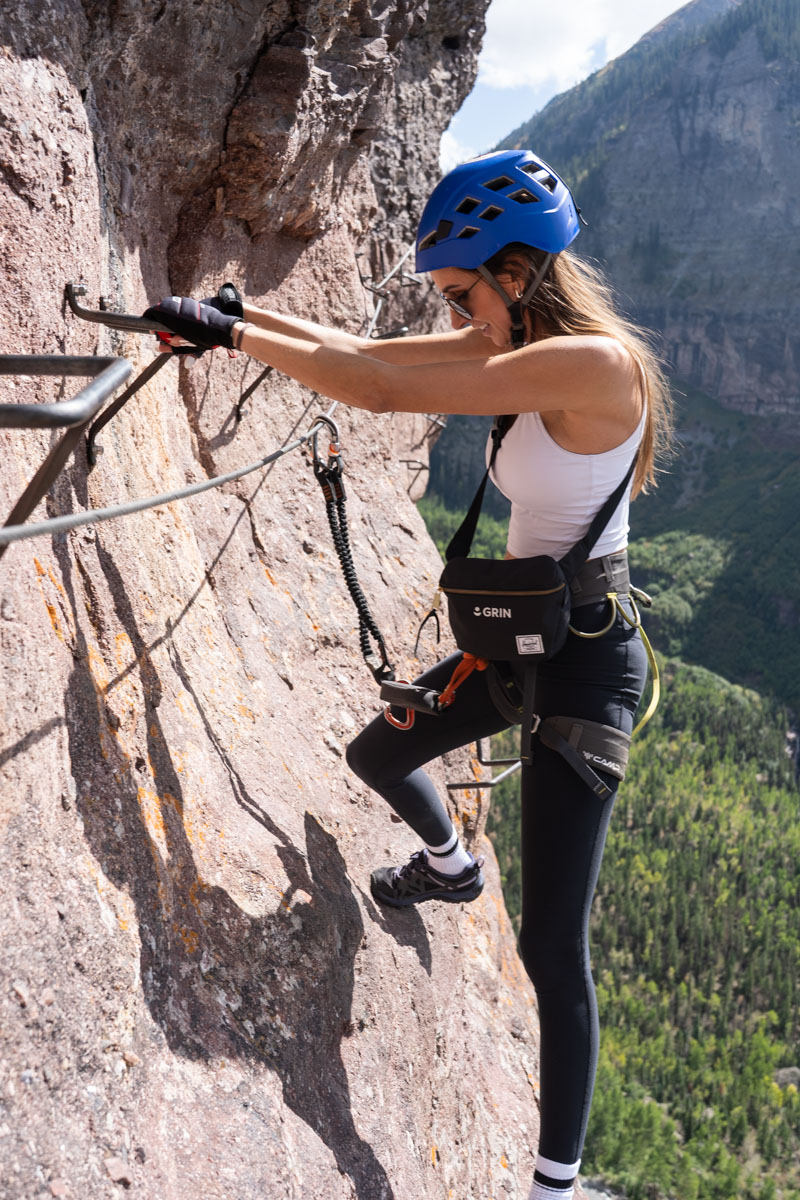
Via Ferrata Gear
For this hike, special gear is required that differs a bit from traditional climbing gear. Here is a list of things you’ll need:
- Harness
- Via Ferrata Set: two elastic lanyards with a shock absorber, two carabiners
- Helmet
- Hiking boots
- Gloves (optional but I found them helpful)
Other things to put in a small pack:
- First Aid Kit
- Water
- Sunglasses
- Sunscreen (apply before)
❗There are currently no places in Telluride that will rent gear for the Via Ferrata. If you book a guide, they’ll provide the gear for you. Otherwise, you will need to bring your own gear.
That right there might be a reason for you to get a guide since there’s no place to rent gear there. And buying your own gear is quite expensive (several hundred dollars). However, there is a work around.
We went over a holiday weekend and booked a little late so we ended up staying in Ouray instead of Telluride. Ouray is about an hour drive away and happens to have two via ferratas in town. The shops there also allow you to rent gear. So we actually rented gear in Ouray for $45/person, drove to Telluride and returned our gear back in Ouray where we were staying.
Parking
Here’s the thing: this hike starts on one side of a rock cliff and ends on the other. Somehow, you need to turn it into a loop trail to make it back to where you park your car. Meaning, that even if you are able to park as close to the trailhead as possible, you still have to hike back over/up to your car. Basically you’ll be doing more hiking either way.
To hike the Telluride Via Ferrata, you’ll first have to hike the Bridal Veil Falls trail and then walk up the road to the Via Ferrata trailhead.

If you have 4-wheel drive, you can potentially try to park at Bridal Veil Falls. However, there is only room for a few cars to park and you’ll still have to hike back up to your car afterwards.
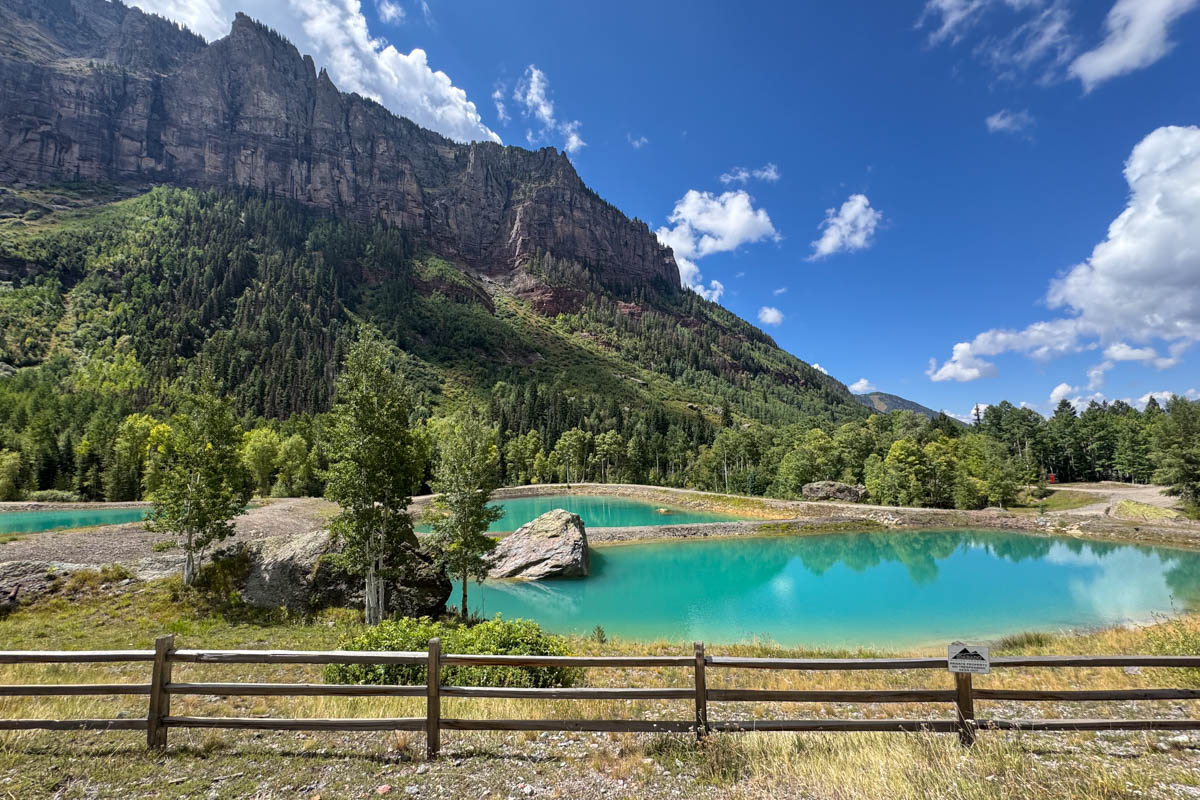
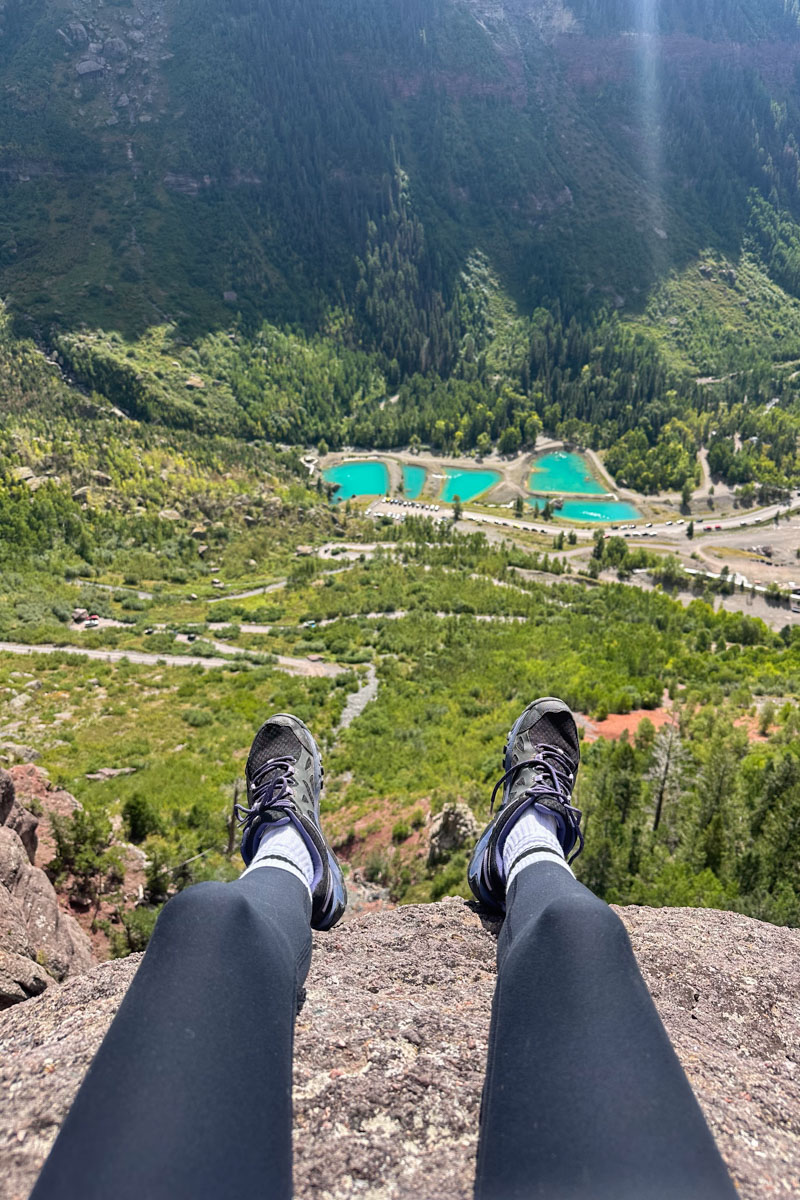
The best place to park is at the bottom in the parking lot for the Bridal Veil Falls trail. If it’s full, you can park along the road next to the blue ponds on Bridal Veil Falls Road. You’ll have to hike up to the via ferrata trail head but the way back will be all downhill. It’s better to knock it out at the beginning in my opinion.
Bridal Veil Falls Trail
We parked along the road and then walked to the start of the Bridal Veil Falls trail. The bad news here is that you have to hike 1.2 miles before you can even get to the start of the Via Ferrata trail.
However, the beginning of the trail is right along the road that takes you up to the falls and the switchbacks that the Via Ferrata is off of. We ended up going to the road and waiting for a car to see if we could hitch hike up to the falls 😅. It worked and we saved probably about 40 minutes of uphill hiking.
Even then, it’s a bumpy road and you’ll need a 4×4. Driving up took us around 20 minutes, but it did save our energy.
From the falls, you’ll walk up the road to the next switchback and that’s where the trailhead is.
The Trail Head
Once you walk up the switchback from Bridal Veil Falls, you’ll see a small path that leads away from the road. We got distracted by the railway and the view, and somehow missed the signage. We were wandering around lost for a little bit trying to figure out where the trail head starts.
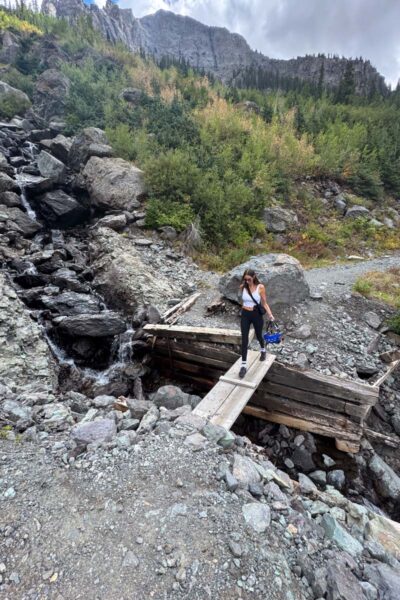
If you don’t get distracted from the view, there’s a small little waterfall and wooden bridge that goes over it. Right in front of you will be a sign (evidently it’s not that hard to miss 🙃). There’s a small vertical path that turns into a scramble pretty quickly.
It’ll take you about 5 minutes to hike up to the start of the horizontal path across the cliff. You can put your harness on at the very start of the trail to keep your hands free while scrambling. Or you can put it on once you hit the horizontal part and the trail levels out.
We weren’t sure when the trail would get scary, but it does right away, so you’ll want to put your harness on within the first few minutes. And it’s better to have more room to lift your leg through a harness than doing it on the side of the cliff like we did. (Technically I sat on the ground because I wasn’t expecting the vertigo so soon.)
The Telluride Via Ferrata Hiking Route
It doesn’t take long for the route to narrow in and the edge to get steeper. For quite awhile, you’ll follow along a narrow path where you’ll mostly be unhooked.
Every time we saw cables we were like, ‘thank goodness’, and then they’d end again. And it goes on like that until you just realize that you won’t have cables for most of the time. But when you do, you’ll need to hook and unhook your carabiners along each section, making sure you only ever unhook one at a time.
You do however have a path for most of the time. It does turn into rocky ledges at times and you might have to scramble a bit, but for the most part, there’s solid ground.
When there are cables, I found it easier to have gloves on to slide my hands along the cables. We were also warned that the metal cables could heat up and I wanted to make sure nothing was going to prevent me from holding on. Though my sister preferred to not use them and was just fine.
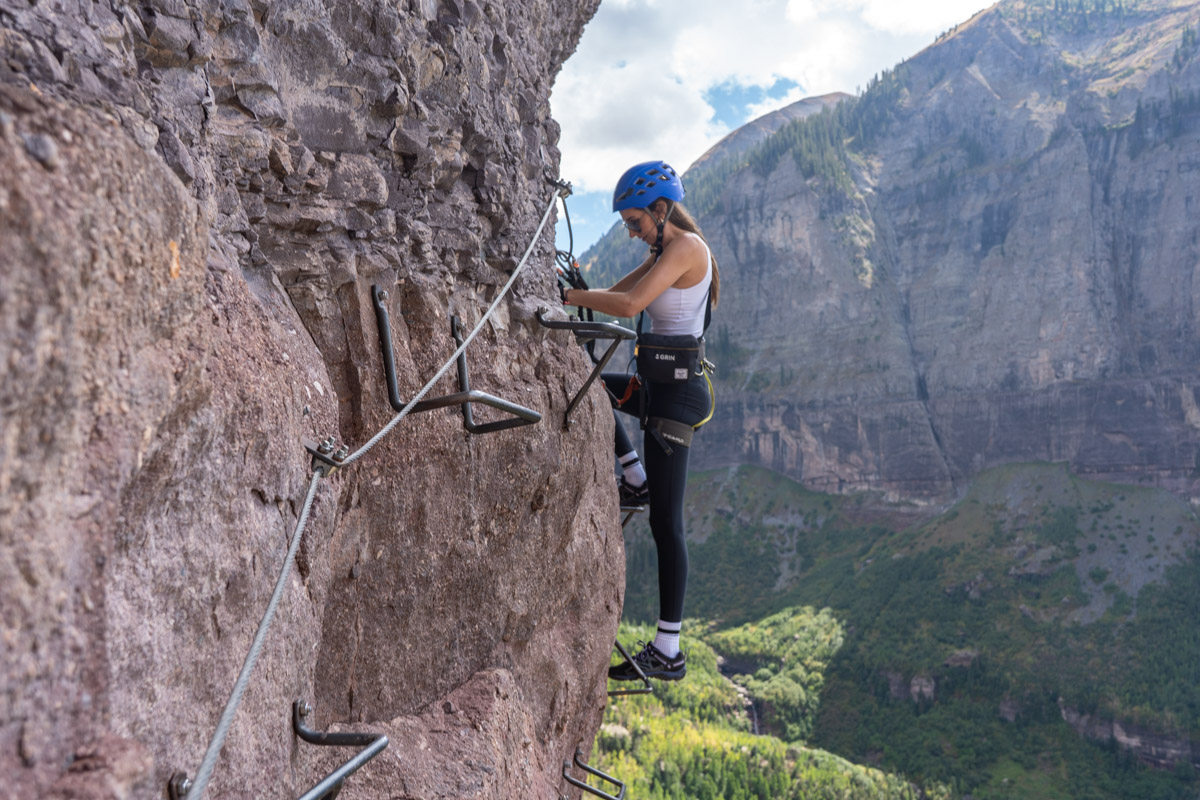
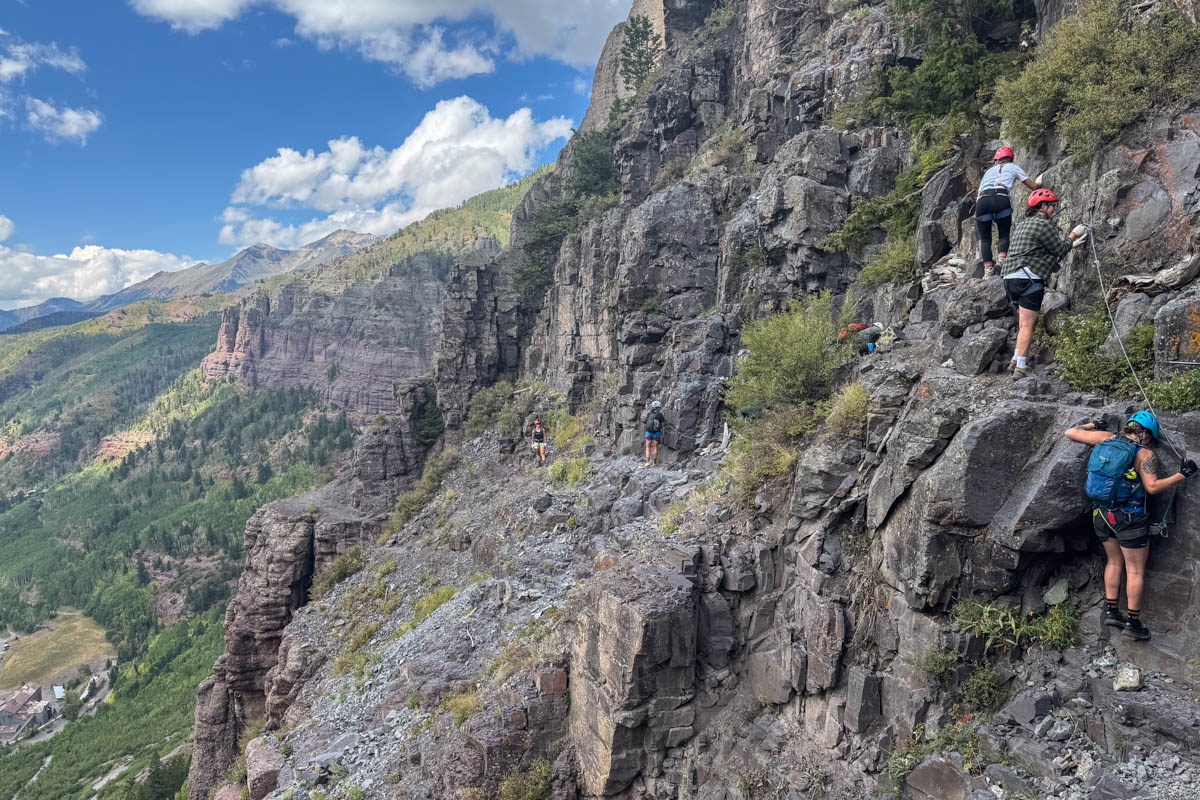
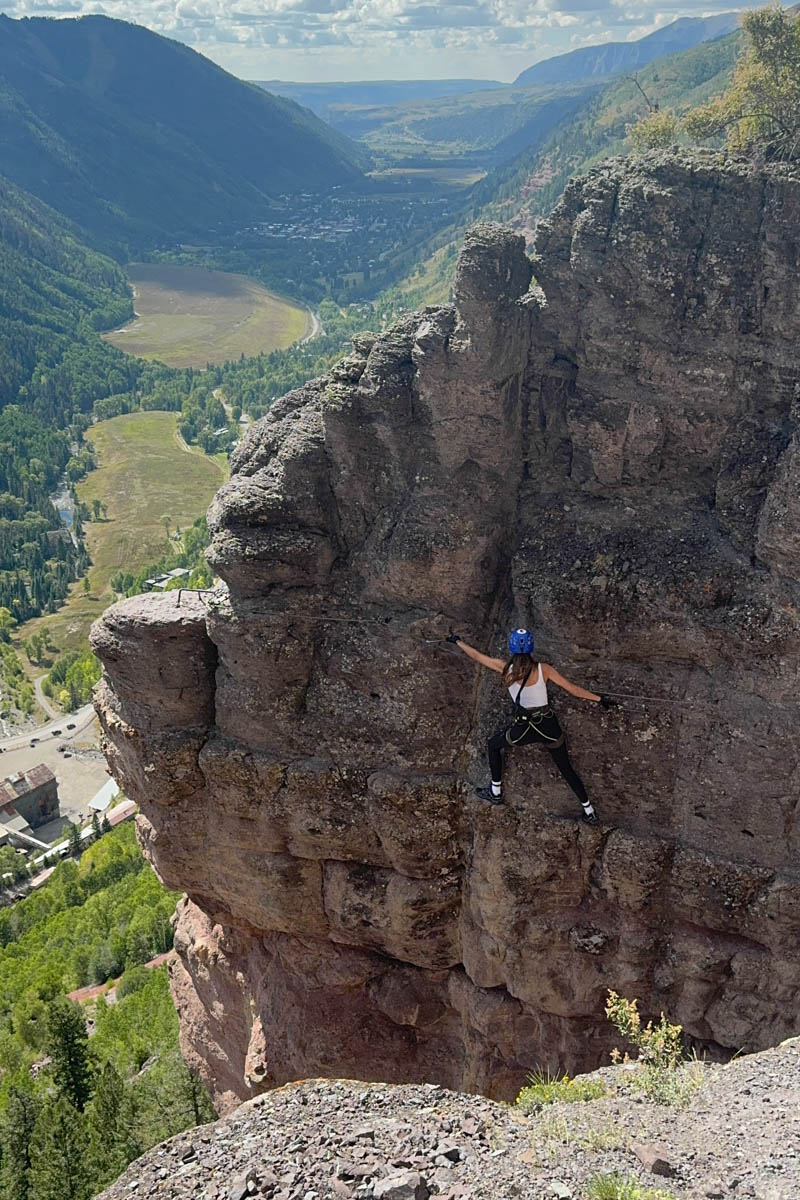
The Main Event
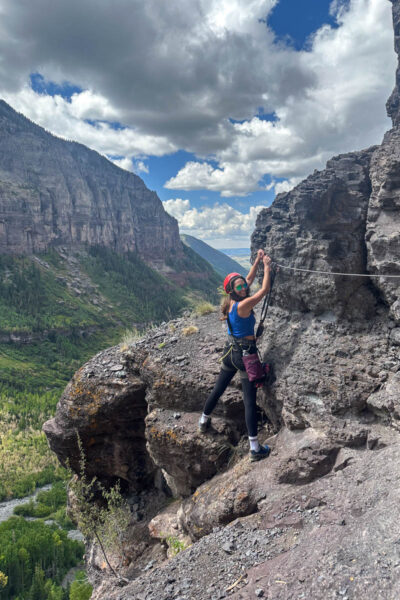
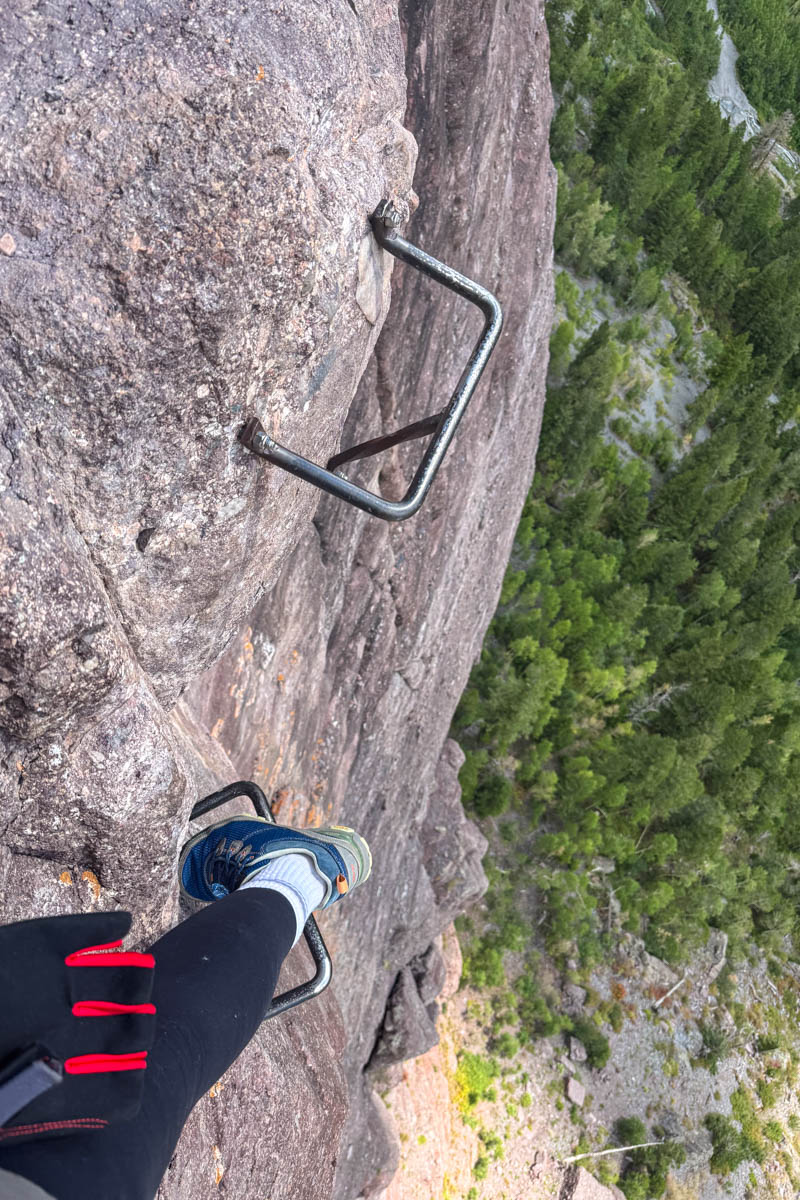
Eventually, you’ll come to what is known as ‘the main event’. There isn’t a path here, but rather iron rungs secured to the side of the mountain. This part is more like actual mountain climbing but you’ll be going horizontal across.
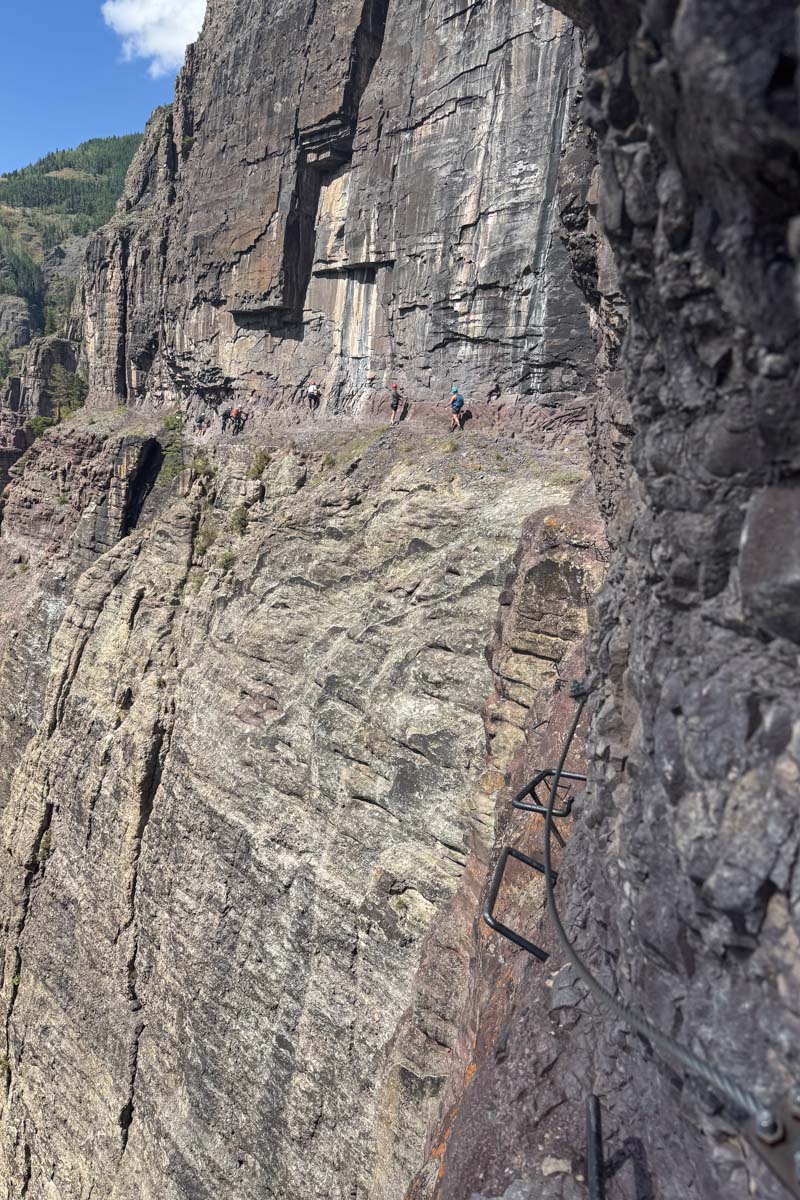
This is where the iconic photos are with people hanging off of iron rungs with a waterfall behind them. (Just imagine that there was water flowing when I was there.)
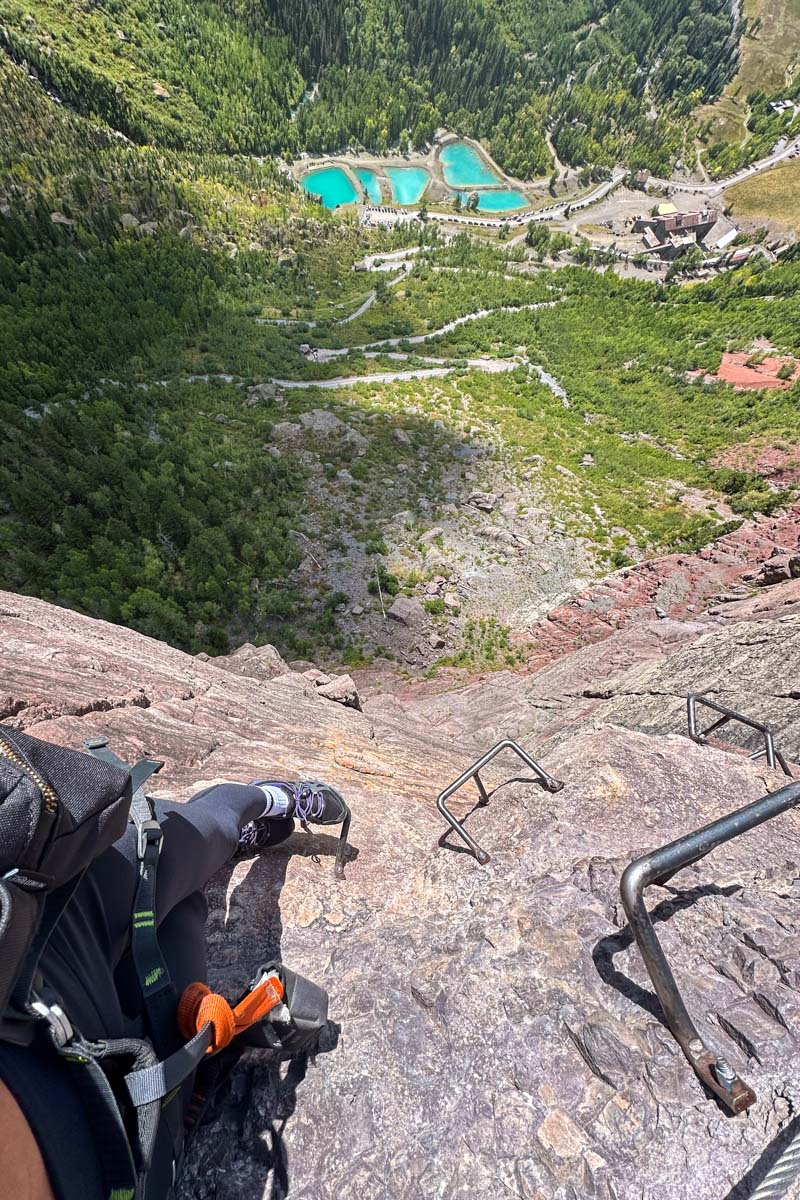
The ground disappears and the only way across is to scale the wall using small iron rungs for foot holes and handles. This is where you’ll need to use the majority of your strength. You’ll essentially be climbing across and using your arm strength to hold your body close to the rock wall.
It’s a decent length and there are a few sections that you’ll need to conquer. After the metal rungs, you’ll get a short break in the trail until you round a corner for the next section.
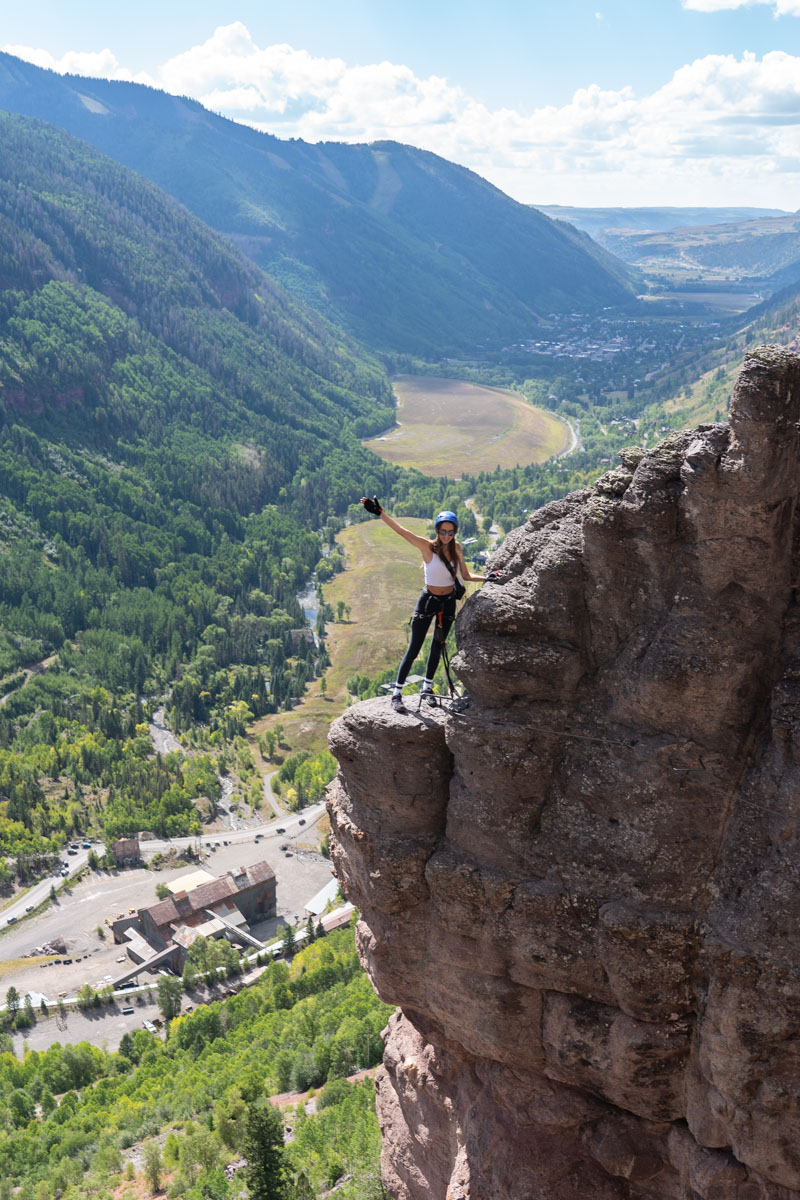
The second part has a tiny ledge to walk along and a small rock platform that you’ll need to crawl onto. The rock platform is probably one of the steepest parts and really feels like you are standing on top of Telluride.

The 2nd Half
Once we finished the main event, we were ready to start the decline but the trail just keeps going on. At some point, you’ll end up on a trail that goes through some trees on the cliff and you start to think that surely you’re almost to the end. But it keeps going for awhile.
Eventually it does start to decline a bit and it kicks you out onto a gravel road. At that point, you’re officially back on solid ground and off of any edges. It’s a decent walk back to the car but it’s easy and goes pretty quickly.

When we started the hike, we got to the cables around 1:55pm and reached the car at 4:50pm. Add in the beginning and it definitely took us 4 hours to complete this hike.
I kept thinking, ‘I SWEAR. If the reason I die is because of a GRASSHOPPER….’
Also, some sort of black flying bug bit my sister and she had a pretty decent itchy welt cover half her forearm for several days.
Telluride Via Ferrata vs Ouray Via Ferratas
As I mentioned before, there are two via ferratas in Ouray also. If we were in Ouray, why did we choose to hike the Telluride one? Mostly because we had heard more about the Telluride one and it seemed to be the more famous one.
We only did the Telluride Via Ferrata so I can’t speak to both of them. However, since we stayed in Ouray, we talked to several locals about the hikes. From what we gathered from them, the big difference is that the Telluride Via Ferrata is a mental game while the Ouray Via Ferratas are a physical game.
The one in Telluride is higher and has a lot of areas where you aren’t strapped in. The ones in Ouray aren’t as high and you are hooked in the entire time, but require more strength as you go through the hike.
The ones in Ouray look like they take you over rivers and through canyons, and have ropes and ladders to navigate. It also can be done in a much shorter time.
So it really depends on what kind of shape you are in and how bad your fear of heights might be.
PIN IT FOR LATER